Technology5 min read
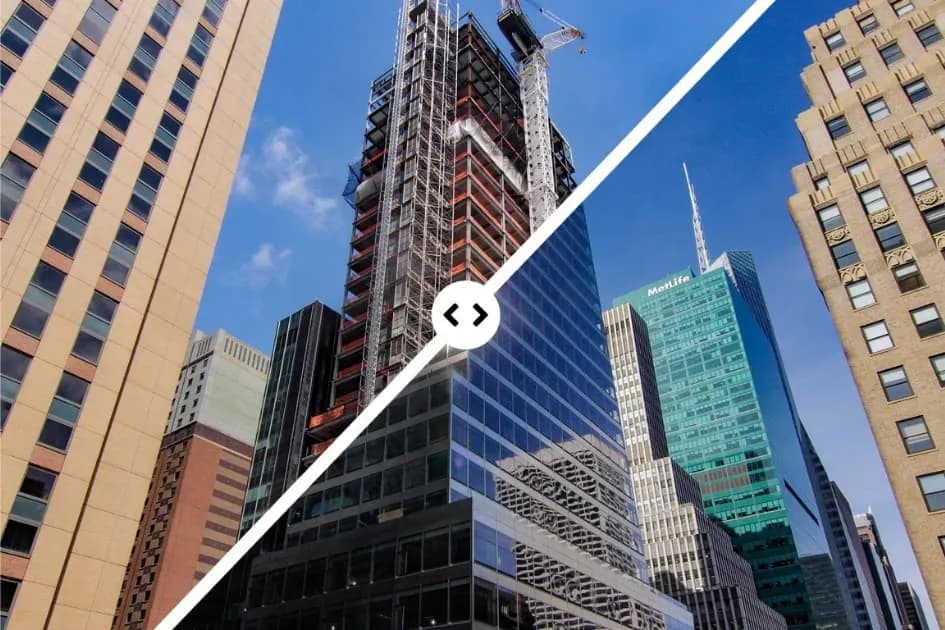
How High-Resolution Timelapse Video Improves Construction Documentation
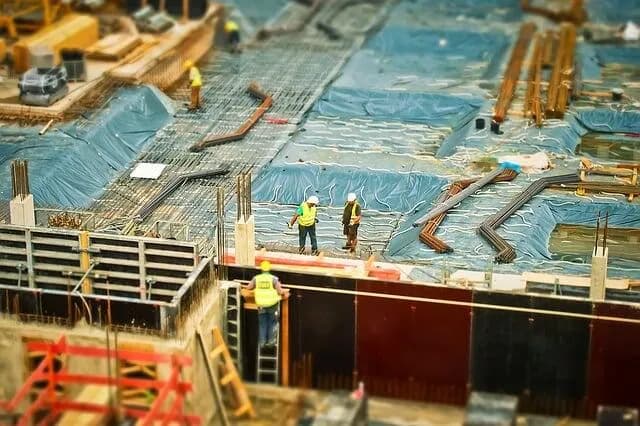
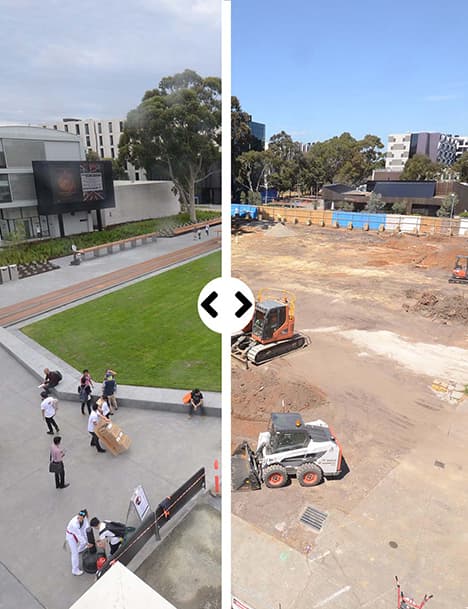
A construction project moves through hundreds of stages, most of which are invisible by the time the building is finished. High-resolution timelapse video captures that whole sequence and compresses i…